Sending New Cases and Changes to the State Central Registry
These instructions describe how to send new and updated cases to the State Central Registry.
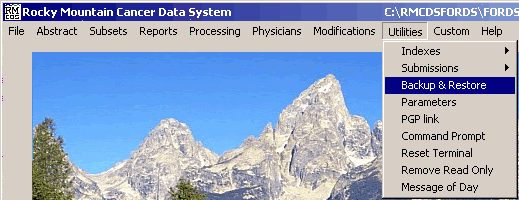
From the RMCDS Main Menu click on Utilities > Backup & Restore

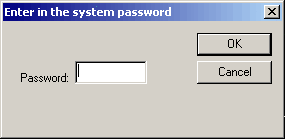
Type the password into the message box that appears.
The Backup and Restore window will open.
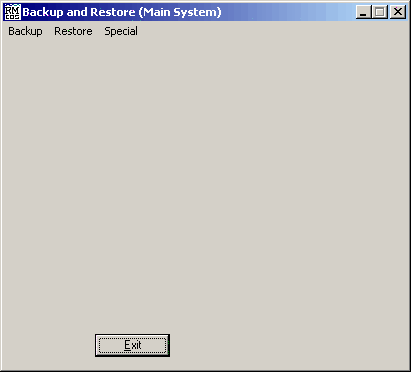
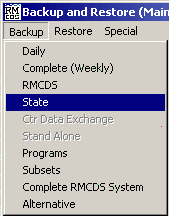
The Backup and Restore window has three menus: Backup, Restore, and Special. To send cases to the State click on Backup > State.
The State Backup Screen will load into the Backup and Restore Window.
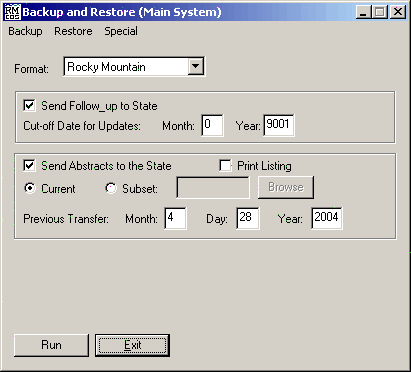
The first time this utility is run the values for Cut off Date for Updates and Previous Transfer date will be 0. On subsequent submissions the dates will retain the previous value entered.
In the box labeled Format you can choose between Rocky Mountain format and NAACCR Versions. If your State Registry is using RMCDS software select Rocky Mountain.
To send follow up information to the state, make sure there is a check in the Send Follow_up to State box and enter a Cut-off Date for Updates in the boxes provided. All follow up information entered since the cut off date will be sent to the state.
To send new abstracts to the state put a check in the box labeled Send Abstracts to the State. If you want a listing report of the patients included in this submission be sure to put a check in the Print Listing box. If you want to send cases from a subset that you have created click on the radio button labeled Subset and enter the name of the subset. Usually you will want to select the Current radio button. In the area labeled Previous transfer enter the date of the previous submission to the state. RMCDS will keep track of the previous transfer date and allows you the option to change it if you need to.
After selecting the options you want for the State submission click on Run. The program will first select the cases for the follow up submission. You will see a message window letting you know how many records are going into the follow up submission. Click on OK. The Follow-up Backup window will open.
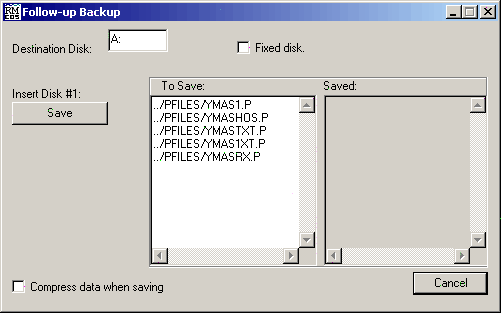
This window allows you to select the Destination Disk drive letter. Usually the cases will be sent on 3.5 inch floppy disks and on most computers this is the A: drive. Make sure there is a BLANK DISK in the drive that you are using and that the drive letter is entered in the window and click on Save. The follow up cases will be saved to the drive specified. Note: The name of the files that contain the follow up cases are listed in the To Save area of the window.
Once the follow up cases are written out the program will then select the new abstracts to be sent to the state. You will see a message window letting you know how many new records are being written out for the state. Click on OK. The New Case Backup window will open. (This is a good time to remove the follow-up cases disk from your computer.)
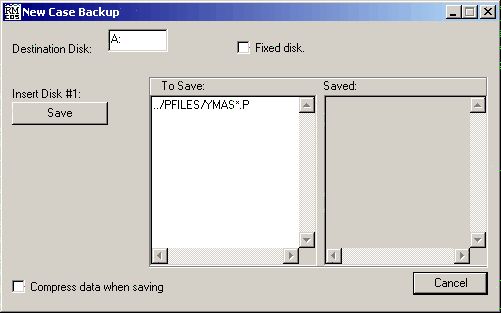
This window allows you to select the Destination Disk drive letter. Usually the cases will be sent on 3.5 inch floppy disks and on most computers this is the A: drive. Make sure there is a BLANK DISK in the drive that you are using and that the drive letter is entered in the window and click on Save. The new cases will be saved to the drive specified. Note: The name of the file that contains the follow up cases is listed in the To Save area of the window.
The cases will be written to the disk and when the program has finished an Exit button will appear in the window allong with the prompt Done. Remove the disk and click on Exit.
The window will close and you will return to the Backup and Restore window. Send the disk(s) to the State Registry.